
The Guide to Roll-up & Pull-up Banners: Design, Types, and Best Practices


Whether you are preparing for an international trade show, setting up a retail store display, or hosting a corporate seminar, roll-up banners (also known as pull-up or retractable banners) remain one of the most cost-effective and powerful physical marketing tools available today.
Despite the digital age, physical event displays continue to drive high engagement. This article breaks down everything you need to know about roll-up banners—how they work, the different types available, key design principles, and how to maximize your return on investment.
1. What is a Roll-Up Banner and How Does It Work?
A roll-up banner consists of a printed graphic panel attached to a spring-loaded roller mechanism inside a aluminum or plastic base. When setting up:
You pull the graphic up from the base.
Hook it onto a foldable support pole at the back.
Secure the base legs (if applicable) for stability.
When packed away, the graphic safely retracts inside the metal housing, protecting the printed image from scratches, creases, and fading during transport.
2. Key Benefits of Pull-Up Banners
Portability & Compactness: The entire display packs neatly into a padded carry bag, usually weighing between 2 kg to 6 kg.
Rapid Setup: A single person can assemble or dismantle the banner in under 60 seconds without tools.
Durability & Reusability: High-quality bases can last for years. Many models feature replaceable cassette systems, allowing you to update the graphic without buying a new base.
High Foot-Traffic Impact: Placed strategically at eye level, they draw immediate visual attention in crowded halls or lobbies.


3. Types of Roll-Up Banner Stands
Choosing the right hardware depends on your budget, environment, and usage frequency.
| Banner Type | Description | Best Used For |
| Standard / Economy | Lightweight base with swing-out foot stabilizers. Budget-friendly. | One-off events, short campaigns, low traffic areas. |
| Premium / Heavy-Duty | Heavier, sleek base (often footless or wide-profile). Sturdier in high-traffic zones. | Frequent travel, permanent lobby displays, trade shows. |
| Double-Sided | Displays graphics on both front and back from a single base unit. | High foot-traffic corridors, middle of exhibition floors. |
| Outdoor Retractable | Weighted water/sand base, heavy-duty springs, weather-resistant graphic material. | Outdoor markets, sports events, venue entrances. |
| Tabletop / Mini | Compact versions (A4 or A3 size). | Reception desks, checkout counters, sales presentations. |
4. Material Matters: Choosing the Right Graphic Media
The print quality depends heavily on the substrate material used for the graphic banner:
Anti-Curl Polypropylene (Smooth Vinyl): The industry standard. High print quality, smooth matte finish, and specially coated edges to prevent the sides from curling inward over time.
PVC / Flex Banner Material: Highly durable and tear-resistant, ideal for rugged environments, though slightly heavier.
Polyester Fabric: Eco-friendly, non-reflective, and produces rich colors. Great for photography backgrounds where flash reflection is a concern.
Pro Tip: Always choose a blockout (light-stop) material. This prevents bright backlighting or indoor lights from shining through the graphic and washing out your design.
5. Essential Design Guidelines for Maximum Impact
A poorly designed banner will be ignored, regardless of how high-quality the print is. Follow these design rules to make your banner stand out:
A. The “Visual Hierarchy” Rule
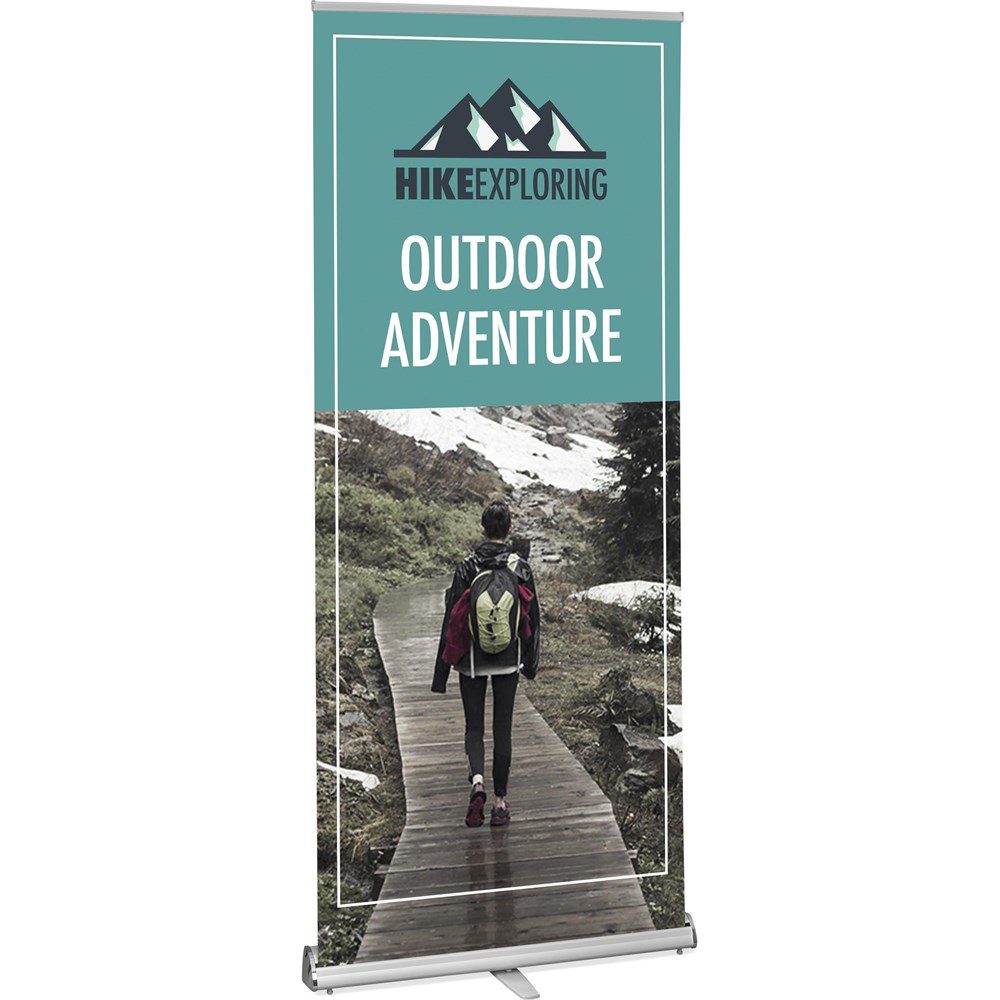
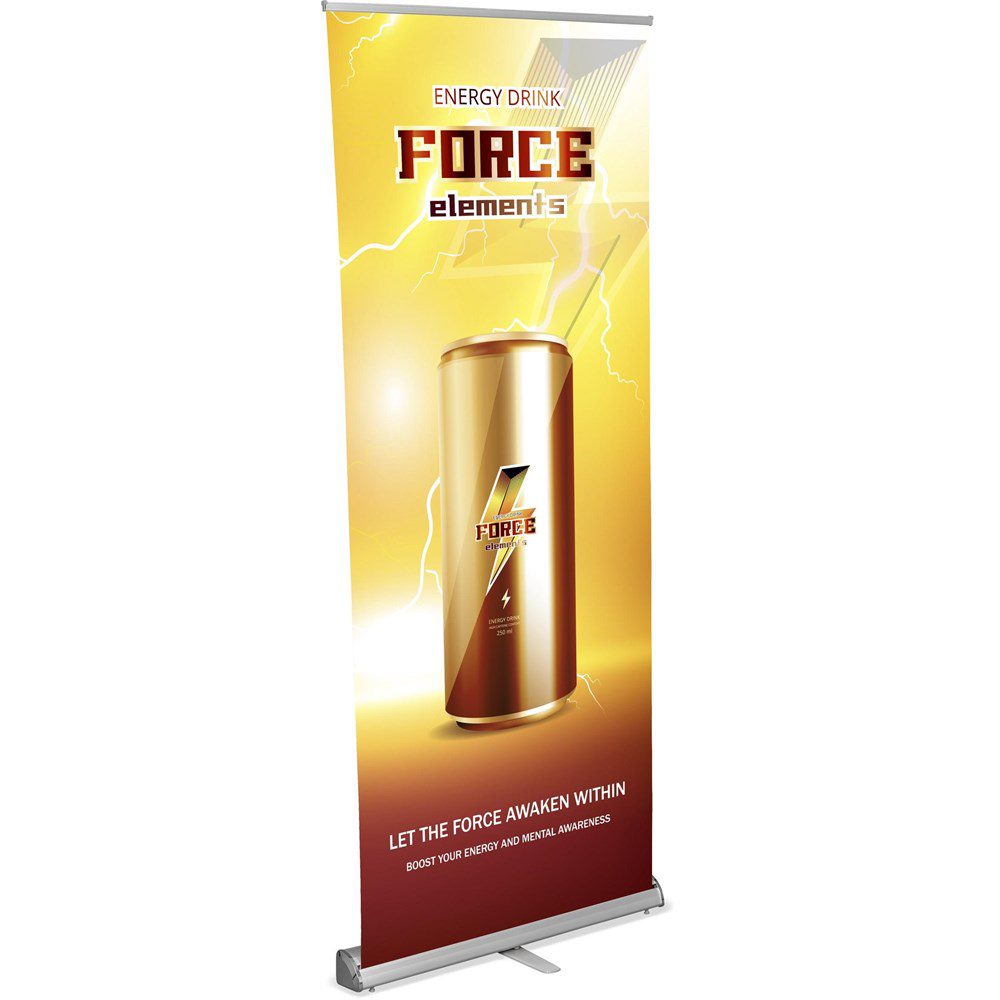
Top Third (Primary Focus): Place your logo, headline, and core brand message here. This is at eye level and will be seen from a distance across a room.
Middle Third (Supporting Details): Keep text brief. Use bullet points or high-resolution imagery/product shots.
Bottom Third (Call to Action & Contact): Include your website URL, QR code, phone number, social handles, or physical address. (Note: Avoid putting critical details too low, as trade show tables or crowd legs may block them.)
B. Keep Text Minimal and Readable
Passing visitors give displays only 2 to 3 seconds of attention.
Use bold, clean sans-serif fonts (e.g., Helvetica, Arial, Montserrat).
Avoid long paragraphs; use concise punchlines.
C. Color & Contrast
Ensure high contrast between the background and text (e.g., dark text on light background or vice versa).
Stick to your brand color palette for recognition.
D. Image Quality & Print Specs
Ensure all images are high resolution (minimum 150 DPI at 1:1 full size, or 300 DPI at half scale).
Design in CMYK color mode (not RGB) to avoid unexpected color shifts during printing.
Add standard bleed (usually 3–5 mm at top and sides, and 100–150 mm at the bottom for wrapping onto the roller).
6. Maintenance and Storage Tips
To keep your roll-up banner looking brand new:
Let it retract slowly: Never let go of the graphic while retracting; guide it back into the base so the internal spring doesn’t break or tear the graphic edges.
Clean with care: Wipe the graphic gently with a soft, slightly damp microfiber cloth. Avoid harsh chemicals or abrasive sponges.
Store dry: Ensure the banner is completely dry before rolling it down to prevent mold or ink transfer.
Keep upright/horizontal: Store the bag horizontally in a temperature-controlled area away from direct heat sources.
Roll-up banners are an indispensable marketing asset that combines visual impact, extreme convenience, and durability. By selecting the right base and material, prioritizing a clean visual hierarchy, and maintaining your display properly, your roll-up banner will successfully attract prospects and project a professional image for years to come.